Easter is coming quickly and if you need some last minute Easter egg DIY and dying ideas Photo Booth of the Stars has scoured the world-wide-web for you and put together a fun and festive round up of egg ideas you will want to try!
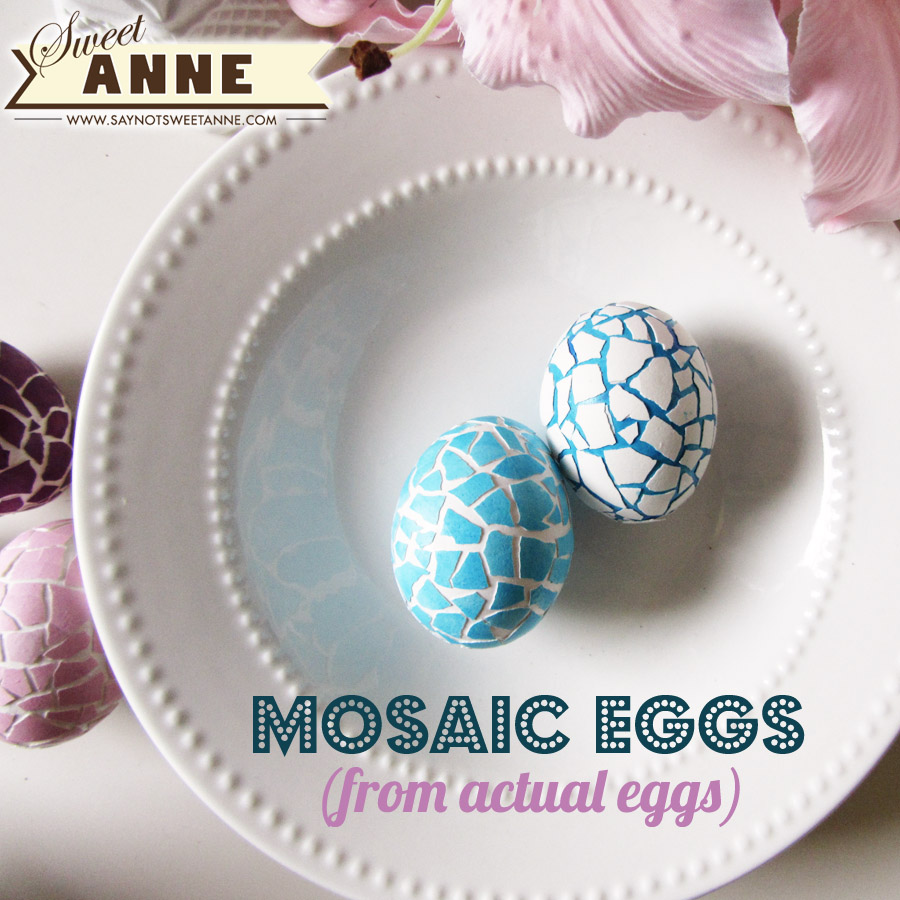 Let’s kick it off with these mosaic Easter eggs from Say No To Sweet Anne! All you need to do is get together your eggs either hard boiled or blown out, whichever you prefer, egg dye, mod-podge or good old fashioned glue, and a paint brush.
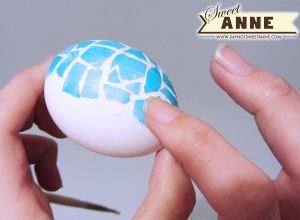
Dye one egg with your color and leave one plain white for the back ground. Crush the shell of the colored egg and glue the colored “mosaic” pieces it onto your white egg until it is covered to your liking. Viola! That is it! It really couldn’t get much easier than that and so unique to have mixed into your Easter décor. Click HERE to check out the entire step by step tutorial.
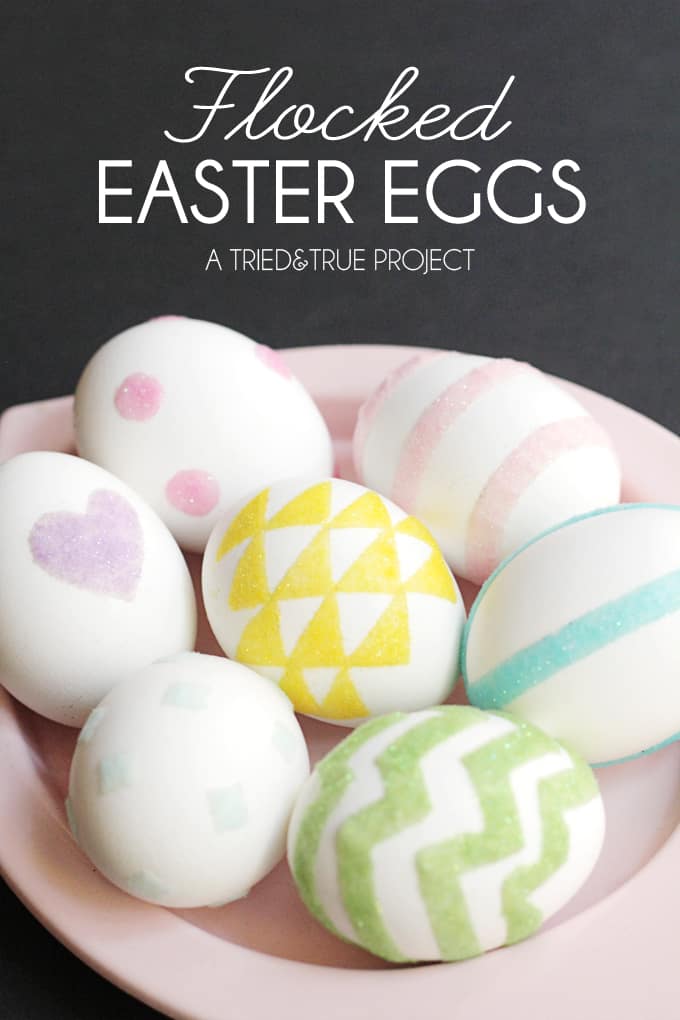
We found these flocked Easter eggs at Tried and True and fell in love with the color palette. All you need is some glitter flocking powder, glue dots, or double sided tape and some scissors. Place the dots or tape onto your hard boiled eggs in whatever style or patter you so choose.
Then simply press the egg into the pressed powder and wipe away any excess with a paint brush. Wonder if cookie sprinkles would have the same effect on the tape? You can head on over to the whole tutorial HERE.

Perhaps you would like to try something a little more personalized like these sticker stenciled eggs from Spoonful. This method requires you to put your eggs in a dye bath by dissolving food coloring paste in 1 cup of hot water in a mug or small bowl, then stirring in some vinegar. Place your store bought or self-made stickers onto your eggs and let the egg bathe in the dye.
Do not remove the sticker until the egg is completely dry or the dye will likely run and no one wants that. You can check out this full tutorial HERE.

If you are a fan of rustic décor than these au natural dyed Easter eggs from Free People are perfect for you! The colors come out in these soft and muted tones that we are loving at Photo Booth! You may even have all of the ingredients you need to make these right inside your own kitchen.
Here’s what you need:
Eggs — hard boiled or fresh (2 yellow onions
1 head of red cabbage
Vinegar
Flowers
White or nude pantyhose
Twine or twist ties
Source: Natural Dye Easter Eggs | Free People Blog http://blog.freepeople.com/2014/04/natural-dye-easter-eggs/#ixzz2zAl3drhA
For the dye you fill 2 pots with water and put the chopped onion in one and the chopped cabbage in the other. Let this simmer for 20-30 minutes, strain, add a little vinegar, pop the egg in and let them bathe for about 30-35 minutes.

Check out the full tutorial that include a nice little diagram to give you an idea of the colors that each dye should present HERE.
Happy Easter to you all!!!
Photo Credit: SayNoToSweetAnne, Triedandtrueblog, Spoonful, Freepeople
Author: L. Fulton-EventsbyL